| Source : http://www.kidslearningstation.com/phonics/word-recognition/ The section below is full of worksheets dedicate to some different themes. Just click on any of the worksheet images below view and print your copy of the worksheet. | |||
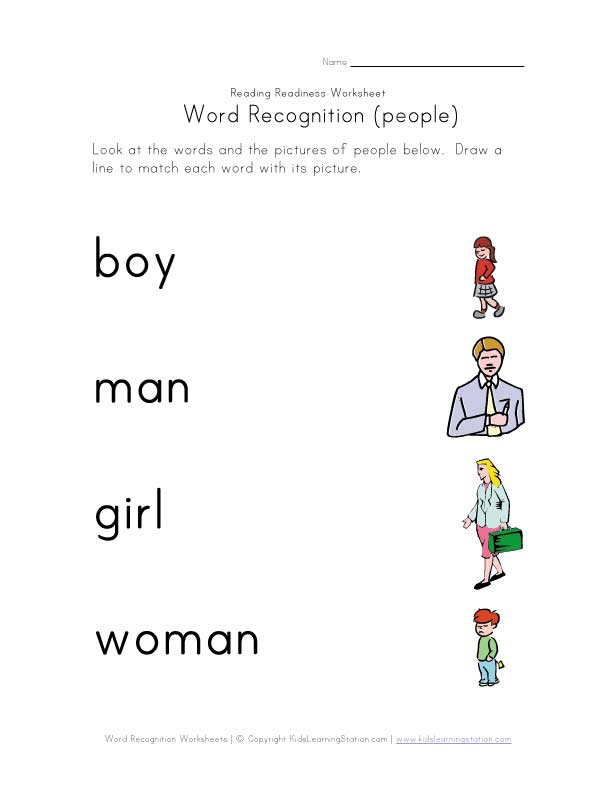 People Word Recognition People Word Recognition | 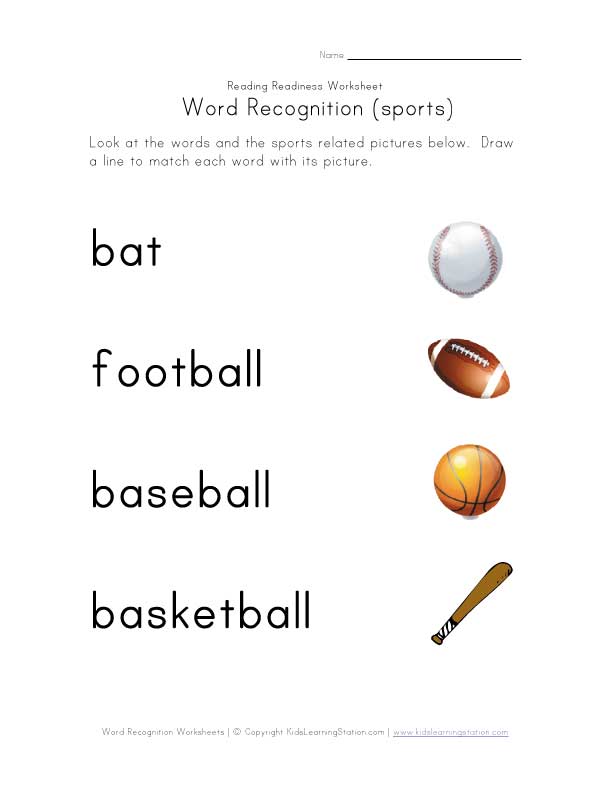 Sports Word Recognition Sports Word Recognition |  Fruit Word Recognition Fruit Word Recognition |  Animal Word Recognition Animal Word Recognition |
 Recognize Animal Names Recognize Animal Names |  Word Recognition Worksheet Word Recognition Worksheet | 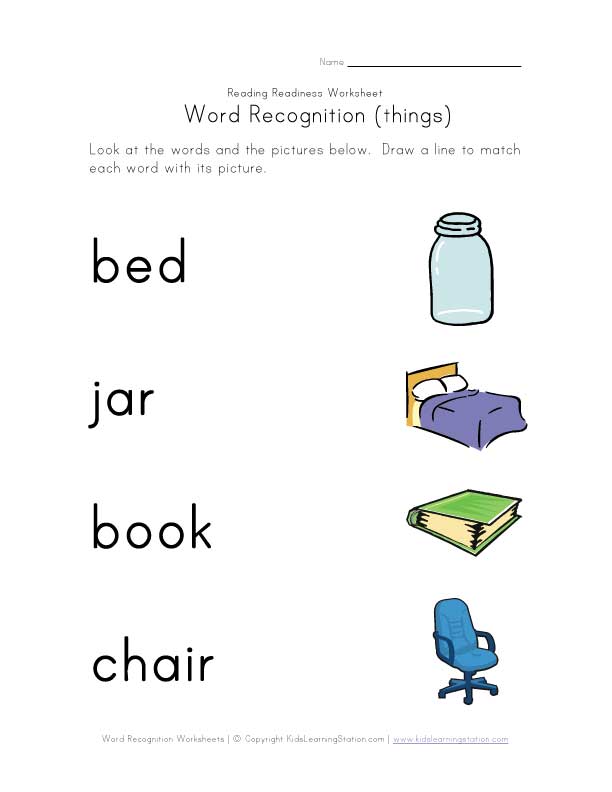 Recognize Words Worksheet Recognize Words Worksheet | 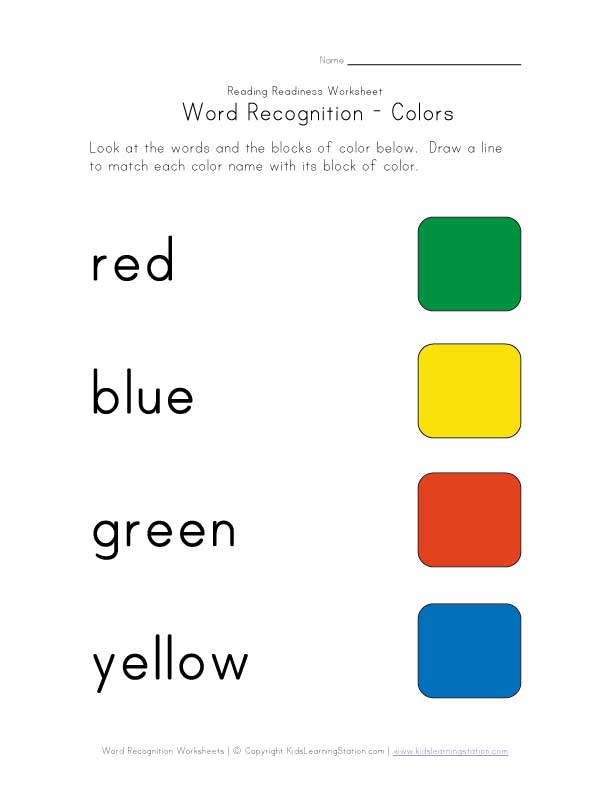 Colors Word Recognition Colors Word Recognition |
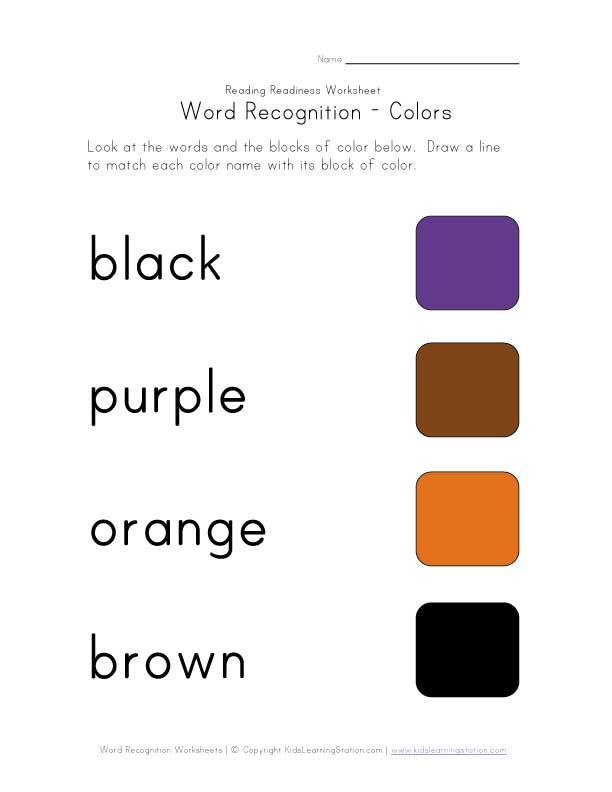 Recognize Color Names Recognize Color Names | 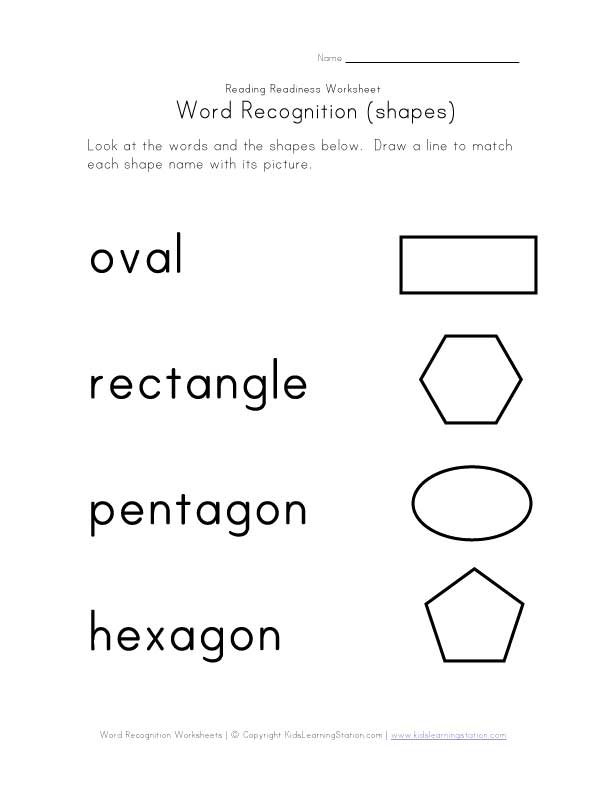 Recognize Shape Names Recognize Shape Names | 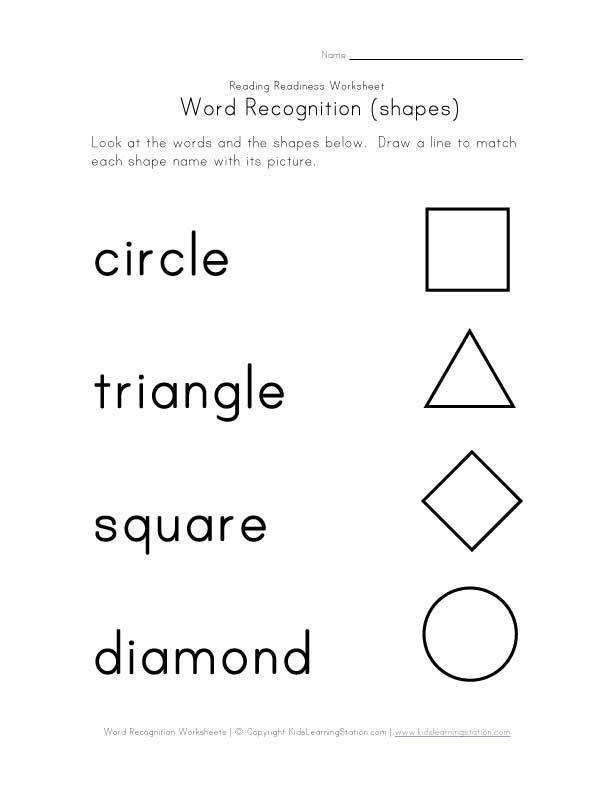 Shapes Word Recognition Shapes Word Recognition | 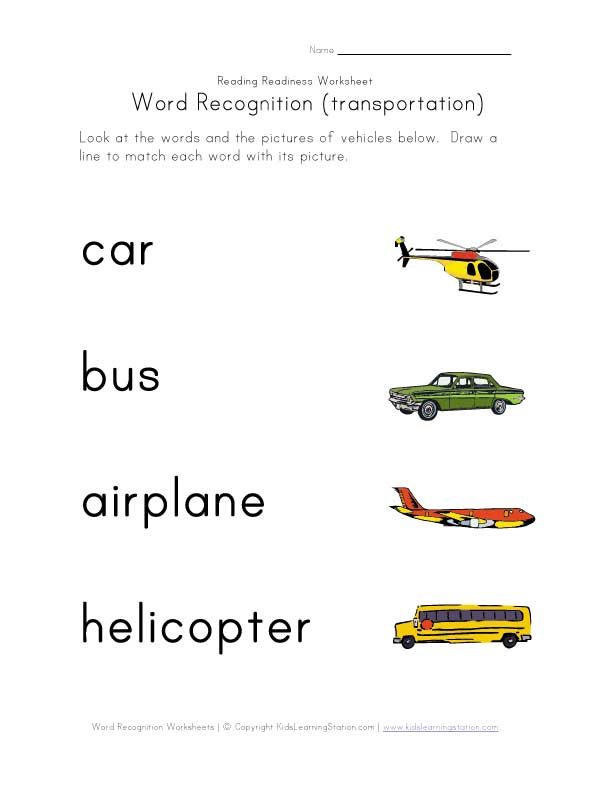 Vehicles Word Recognition Vehicles Word Recognition |
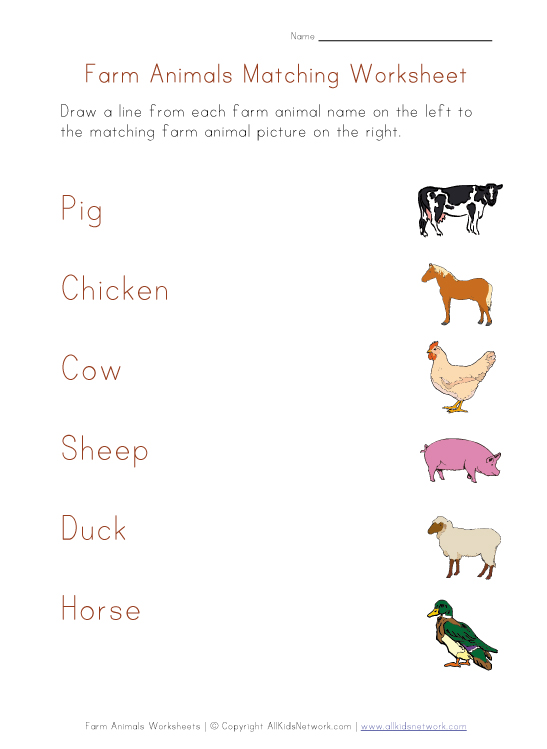 Farm Animals Word Recognition Farm Animals Word Recognition |  Birds Word Recognition Birds Word Recognition | 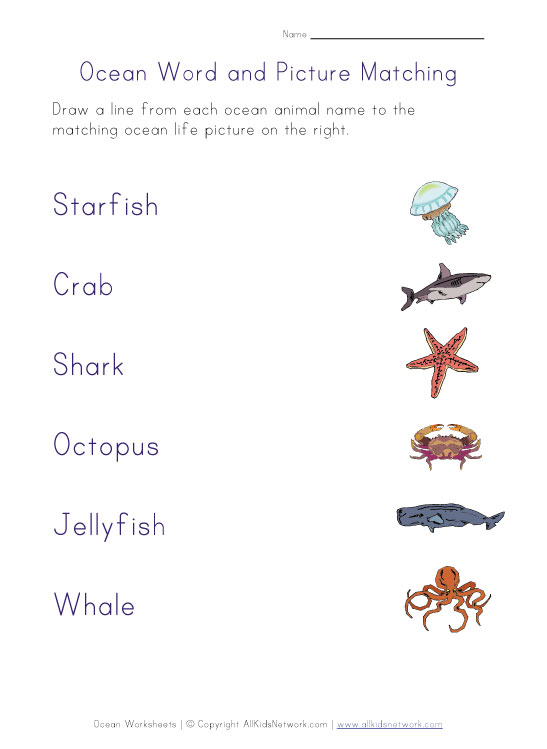 Ocean Animals Word Recognition Ocean Animals Word Recognition |  |
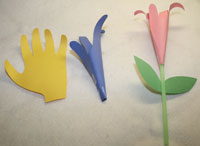
|  The stages of the handprint flower craft |


A tisket, a tasket; want to weave a basket? Using an old strawberry basket, show your child how to make a pretty basket with a handle—a great way to celebrate Little Red Riding Hood. Weaving ribbons through the holes is good for hand-eye coordination and patience. She can use pastels to make this into a darling Easter or spring-themed basket, or simply track down ribbons in her favorite colors.
There are conflicting views on whether students should be assessed using a book they have never read versus using a book they are familiar with. We believe using a book that has not been previously read will give a more accurate measure of a student's ability to handle text at the assessed level. For this reason, we provide two benchmark books at each level: one fiction and one non-fiction. You can always opt to read the book before doing a running record if you prefer using previously-read text for your running record.
After completing a running record, you may want to assess a student's comprehension of the book read. Reading A-Z provides Retelling Rubrics for this purpose. Both fiction and non-fiction Retelling Rubrics are provided.
Taking a Running Record
Running records are taken most often at the earlier stages of reading. Students who are not progressing at the expected rate should be assessed even more frequently than the schedule suggested below.
Taking a running record takes practice. Before attempting a running record, read the procedural steps below, then go to the section on Marking a Running Record Form.
Marking a Running Record Form
Several terms are used when marking a running record form. You should become familiar with these terms by reviewing the explanations below.
--Substitutes another word for a word in the text
--Omits a word
--Inserts a word
--Has to be told a word
There are two steps to marking a running record. Step 1 involves marking the text on the running record form as the student reads from the benchmark book. Before taking your first running record, become familiar with the symbols used to mark a running record form. These symbols are found in Table 1. Also review the Sample Running Record to see how a completed form looks. It also is a good idea to take a few practice running records by role-playing with a fellow teacher as she/he plays the role of a developing reader, intentionally making errors for you to record.
Once the student has read all the text on the running record form and you have recorded their reading behavior, you can complete Step 2. In Step 2 you fill in the boxes to the right of the lines of text you have marked. Begin by looking at any error the student has made in the first line. Mark the number of errors made in the first box to the right of the line. If the student self corrected any of these errors, mark the number of self-corrections in the second box to the right of the line. Next determine whether the errors and self-corrections were made as a result of meaning, structure, or visual cueing. For a description of each of these cues, review the explanations provided above. Write MSV in each box for each error and a self-correction made and circle the appropriate letter for the cue used by the student.
After completing step two you should total the number of errors and self-corrections and write each total in the box at the bottom of the appropriate column. Next calculate the student's error rate, accuracy rate, and self-correction rate, found in the next section Scoring and Analyzing a Running Record.
You do not have to mark the MSV cueing portion of the running record form. It is simply used to help you further analyze a student's reading behavior and provide deeper insight into a student's possible reading deficiencies. You can still use the information on error, self-correction, and accuracy rates to place the student at the developmentally appropriate instructional level.
Scoring and Analyzing a Running Record
Scoring: The information gathered while doing a running record is used to determine error, accuracy, and self-correction rates. Directions for calculating these rates are given below. The calculated rates, along with qualitative information and the student's comprehension of the text, are used to determine the student's reading level.
Qualitative Analysis: The qualitative analysis is based on observations that you make during the running record. It involves observing how the student uses the meaning (M), structural (S), and visual (V) cues to help her/him read. It also involves paying attention to fluency, intonation, and phrasing. Think back to the prompts you offered and how the student responded. These observations help you form a picture of the student's reading development.
Error
Accuracy
Self-Correction
The formulas below were used with the sample running record above.
Error Rate
Error rate is expressed as a ratio and is calculated by using the following formula:
Total words / Total errors = Error rate
Example:
99 / 8 = 12.38, or 12 rounded to nearest whole number
The ratio is expressed as 1:12.
This means that for each error made, the student read approximately 12 words correctly.
Accuracy Rate
Accuracy rate is expressed as a percentage. You can calculate the accuracy rate using the following formula:
(Total words read – Total errors) / Total words read x 100 = Accuracy rate
Example:
(99 – 8) / 99 x 100 = Accuracy rate
91/99 x 100 = Accuracy rate
.919 x 100 = 91.9%, or 92% rounded to the nearest whole number
You can use accuracy rate to determine whether the text read is easy enough for independent reading, appropriate to use without frustration during reading instruction purposes instruction, or too difficult for the reader. The breakdown of these three categories is as follows:
Easy enough for independent reading = 95 – 100%
Instructional level for use in leveled reading session = 90 – 94%
Too difficult and will frustrate the reader = 89% and below
Self-Correction Rate
Self-correction rate is expressed as a ratio and is calculated by using the following formula:
(Number of errors + Number of self corrections) / Number of self corrections = Self-correction rate
Example:
(8 + 3) / 3 = Self-correction rate
11 / 3 = 3.666, or 4 rounded to the nearest whole number
The self-correction rate is expressed as 1:4. This means that the student corrects approximately 1 out of every 4 errors.
If a student is self-correcting at a rate of 1:4 or less, this indicates that she/he is self-monitoring her/his reading.